Minimal Theatre Setup
This article cover the basic minimal setup for Theatre, like the one created in the Quick Start article, but a lot more shorter and straightforward.
-
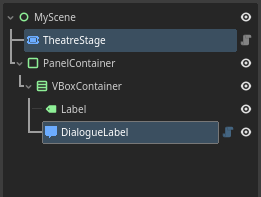
Create a new
2DorUser Interfacescene, and structure it like the following:The two highlighted nodes are the Theatre-specific nodes.
Adjust the size and position of the
 PanelContainer
 -
Tick the
fit_contentproperty on the DialogueLabel
 -
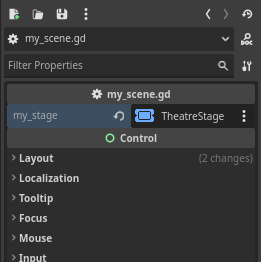
Attach a script to the scene and create a new
 TheatreStage
@exportannotation. -
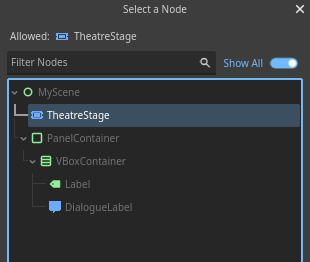
Go to the inspector, and assign the
stagein the script. -
-
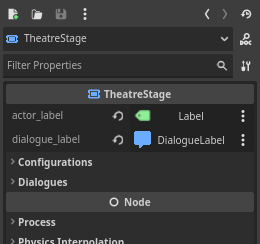
Click the
 Label
Labelactor_label, anddialogue_label. -
Use input event to progress the
extends Control @export var my_stage: TheatreStage func _input(event): if event.is_action_pressed("ui_accept"): my_stage.progress() -
You can then write/load your
 Dialogue

Code summary
extends Control

var dlg: Dialogue # Load/create Dialogue here

@export var my_stage: TheatreStage

func _input(event):
    if event.is_action_pressed("ui_accept"):
        my_stage.progress()

func _ready():
    my_stage.start(dlg)
Got any questions? feel free to ask them in the GitHub Discussions!